GebraBit

GebraBit HS1101LF Relative Humidity Sensor Module Overview

متن سربرگ خود را وارد کنید

HS1101LF both side

GebraBit HS1101LF Relative Humidity Sensor Module Overview

  1. Home
  2. »
  3. Blog
  4. »
  5. GebraBit HS1101LF Relative Humidity Sensor Module Overview

Humidity is the presence of water in air. The amount of water vapour in air can affect human comfort as well as many manufacturing processes in industries. The presence of water vapour also influences various physical, chemical, and biological processes.

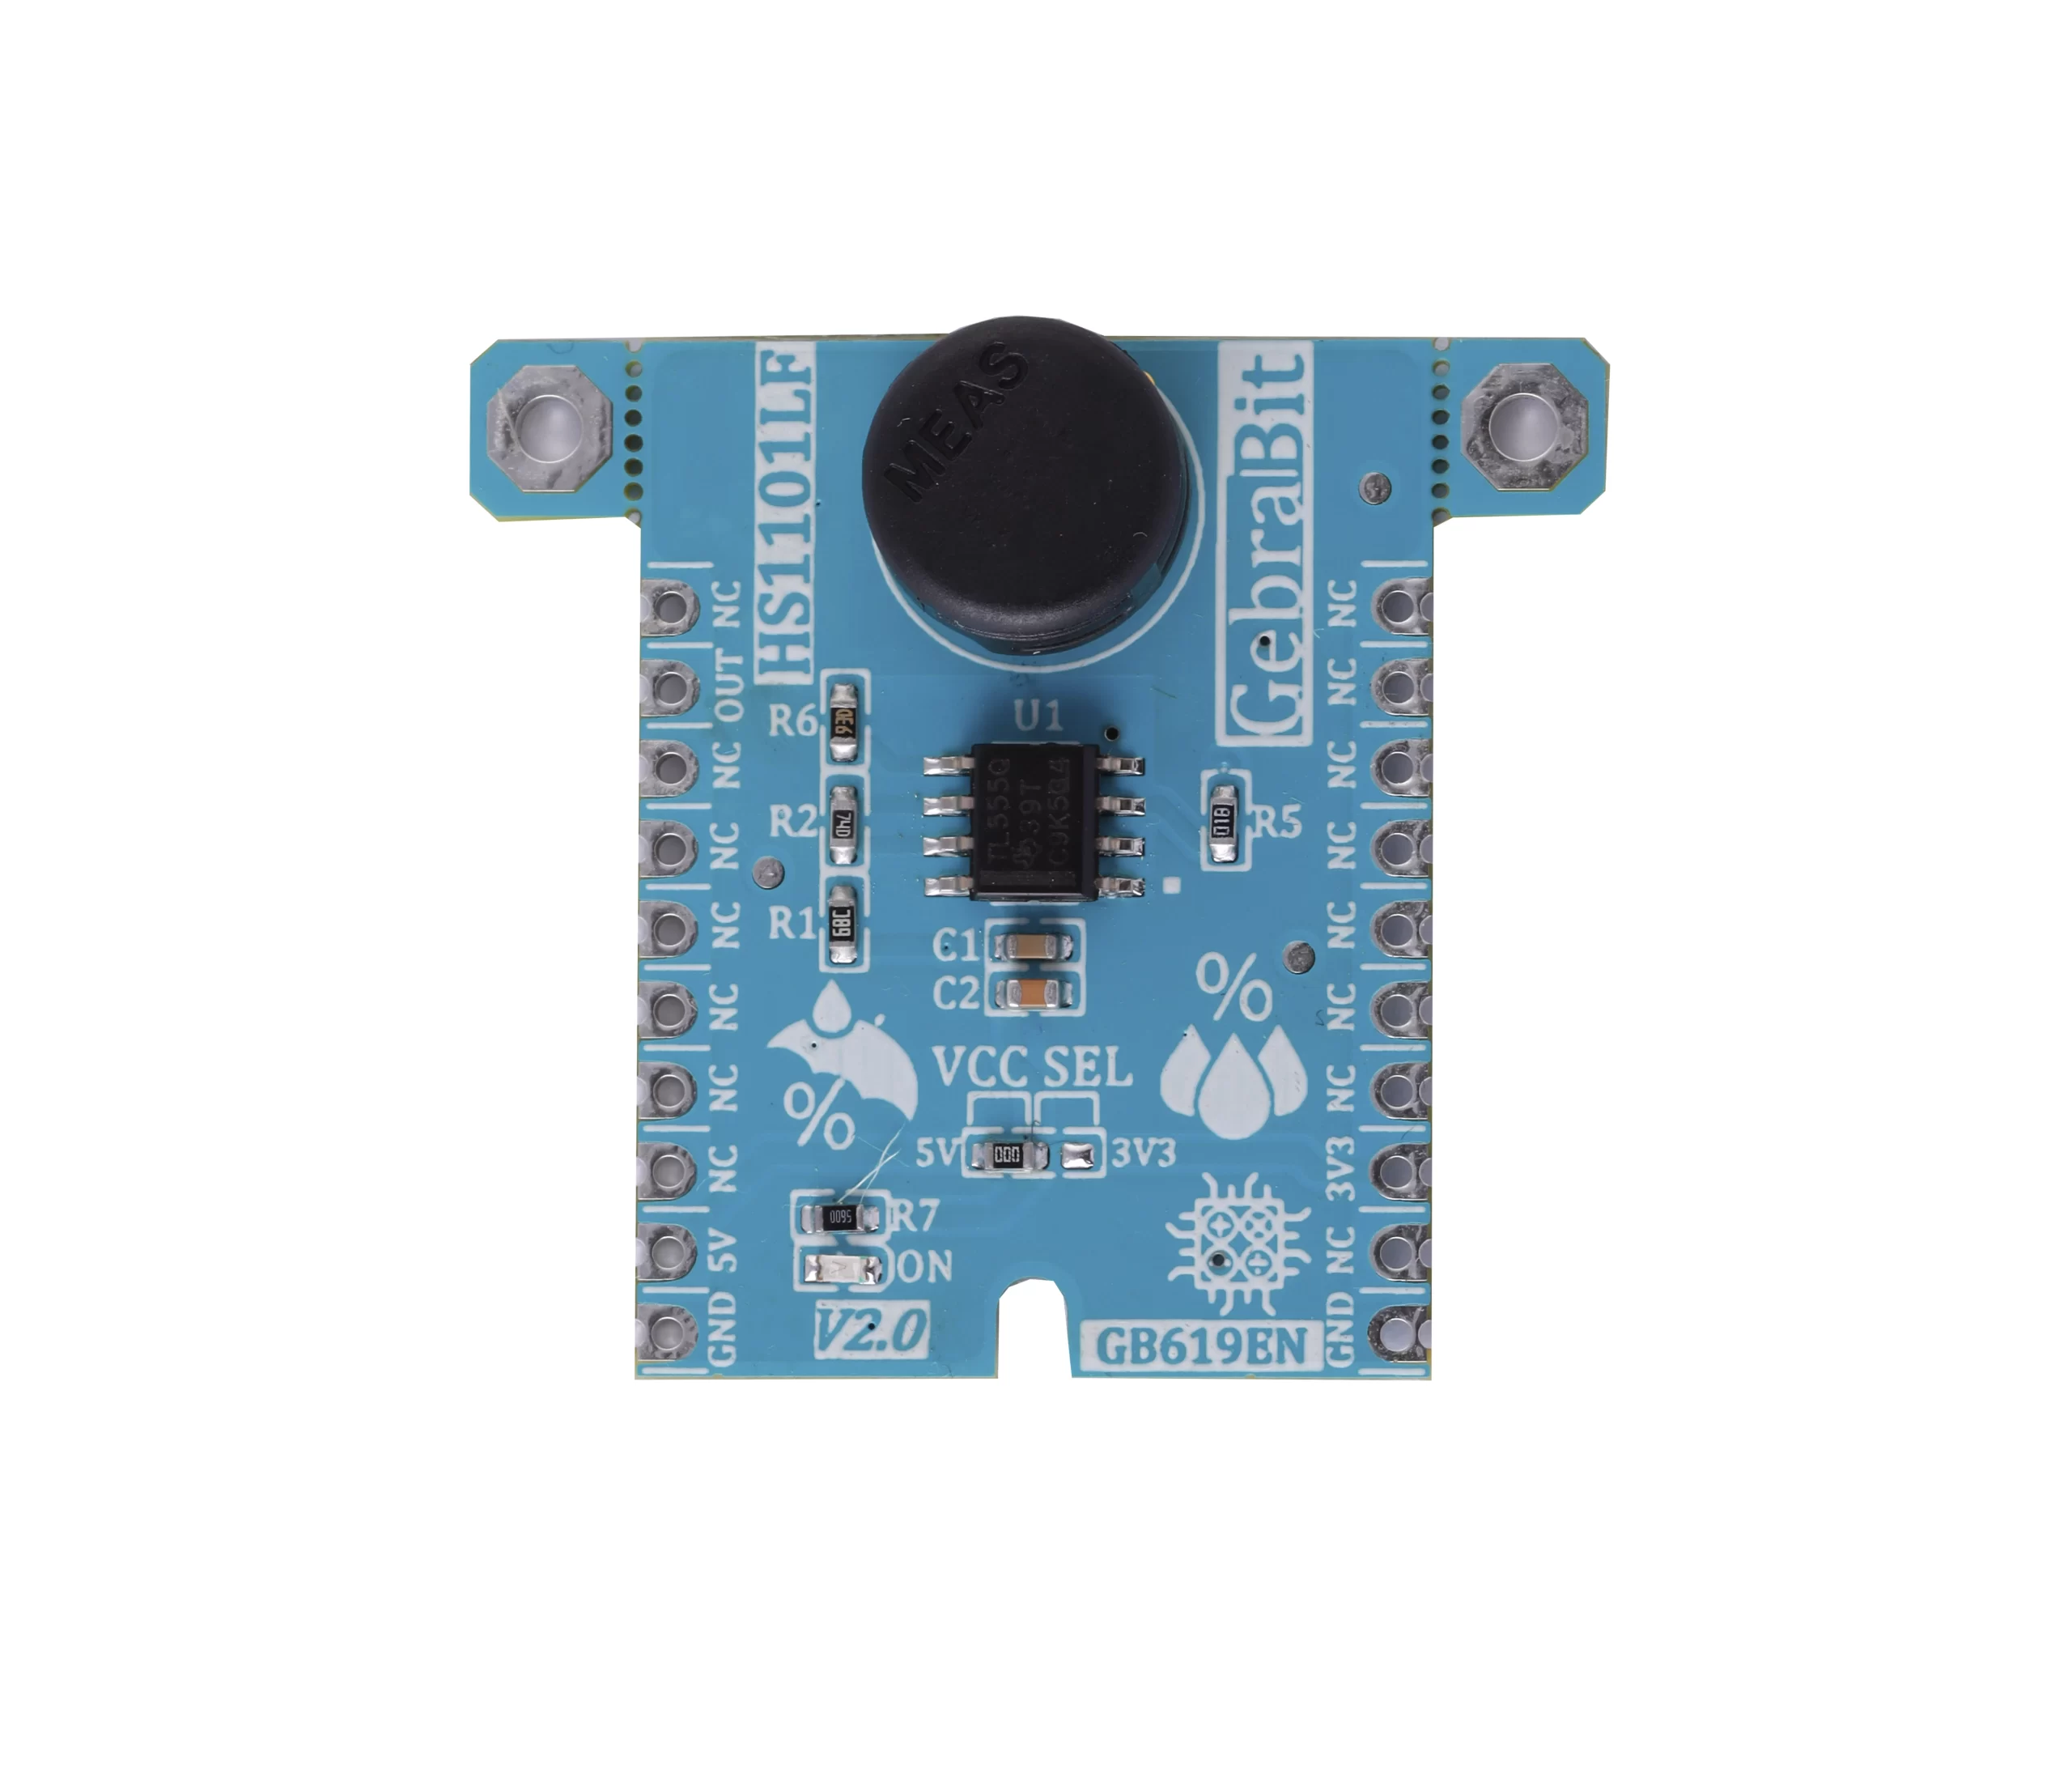
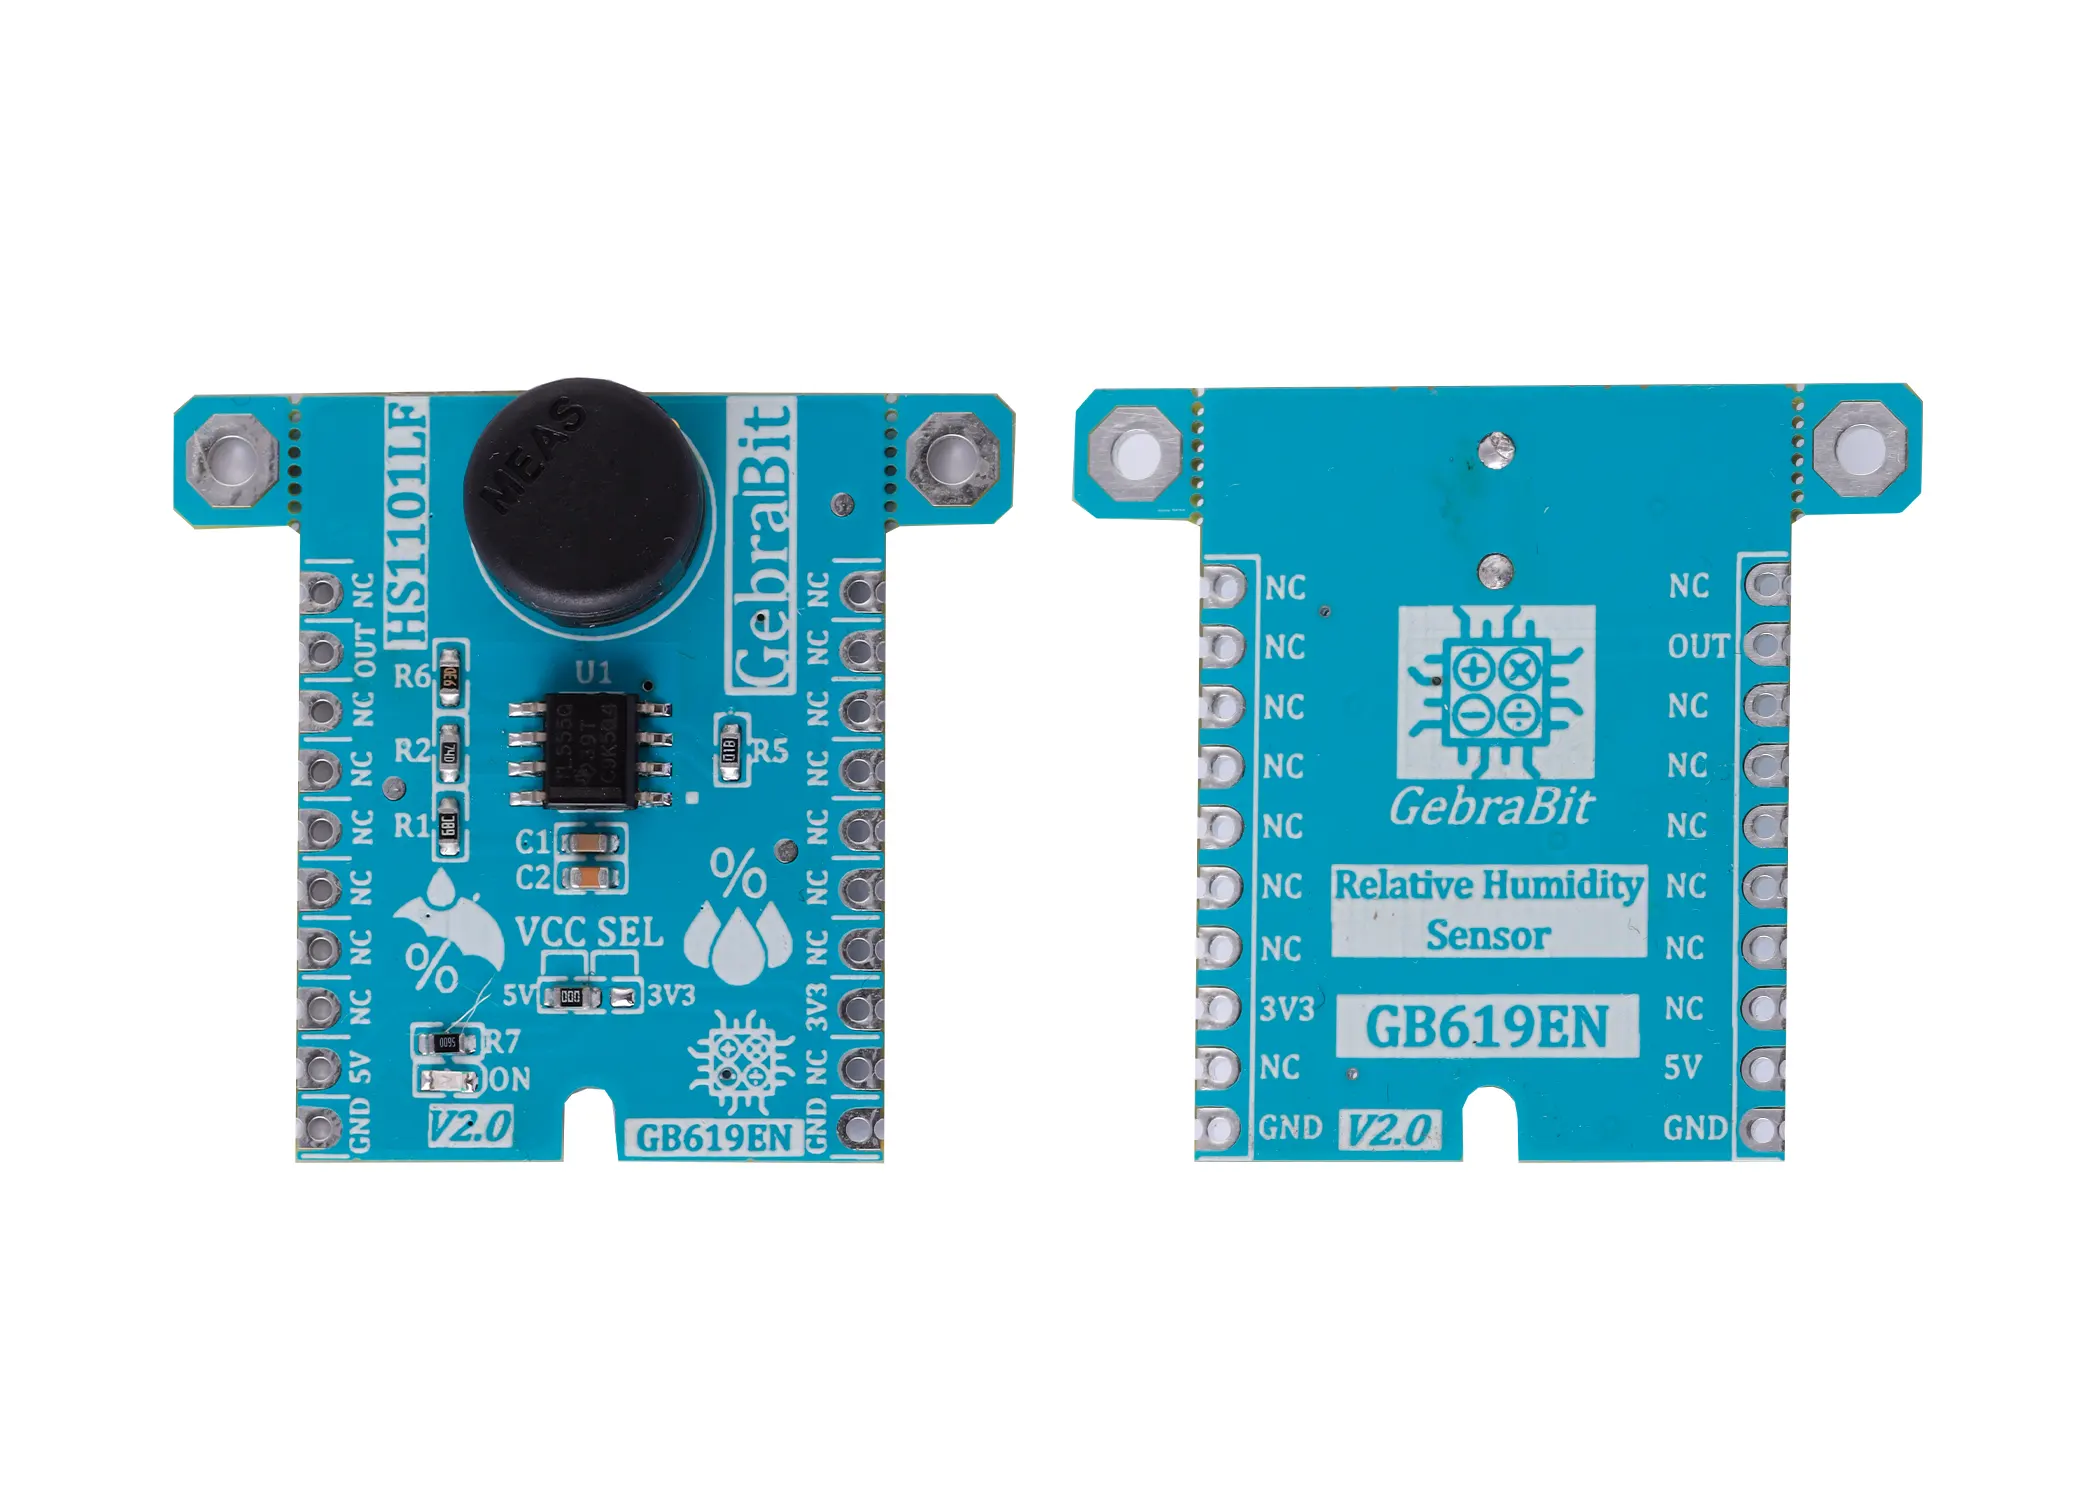
Humidity sensors work by detecting changes that alter electrical currents or temperature in the air. There are three basic types of humidity sensors: capacitive, resistive and thermal. All three types will monitor minute changes in the atmosphere in order to calculate the humidity in the air.

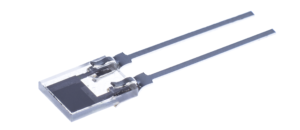
A capacitive humidity sensor measures relative humidity by placing a thin strip of metal oxide between two electrodes. The metal oxide’s electrical capacity changes with the atmosphere’s relative humidity. Weather, commercial and industries are the major application areas.

An overview of the HS1101LF sensor

Based  on  a  unique  capacitive  cell,  these  relative  humidity sensors  are  designed  for  high  volume,  cost  sensitive applications such as office automation, automotive cabin air control, home appliances, and industrial process control systems. They are also useful in all applications where humidity compensation is needed.

Specification

Applications

  • Output type: Digital-Frequency
  • Humidity rangege: 1 to 99 %RH

For more specifications, please refer to datasheet

  • Automotive
  • Home Appliance
  • Printer
  • Meteorology

HS1101LF module Key Features

  • User-selectable module power supply voltage between 3V3 and 5V
  • ON/OFF LED indicator
  • Pin Compatible with GEBRABUS
  • It can be used as a daughter board of GebraBit MCU Modules
  • Featuring Castellated pad (Assembled as SMD Part)
  • Separatable screw parts to reduce the size of the board
  • Package: GebraBit small (36.29mm x 32.72mm)

GebraBit HS1101LF module

GebraBit HS1101LF is a Relative Humidity measurement module with linearized Frequency Output Based on a unique capacitive cell.

GebraBit HS1101LF operates with 3V3 or 5V Supply Voltages which users can easily select with a Considered onboard jumper selector; This feature helps to use a wide range of microcontrollers for interfacing with this module.

The user needs a starter circuit and driver for the hardware development and of course the software development of the HS1101LF sensor. For the convenience of users, this work has been done by implementing the HS1101LF sensor circuit.

It is enough to put the GebraBit HS1101LF module in the BreadBoard, then by applying the proper voltage set up the GebraBit HS1101LF module with any of Arduino, Raspberry Pi, Discovery board, and especially we recommend using GebraBit microcontroller development modules (GebraBit STM32F303 or GebraBit ATMEGA32 module) then receive the data.     

The reason for our recommendation when setting up the GebraBit HS1101LF module with GebraBit microcontroller development modules (such as GebraBit STM32F303 or GebraBit ATMEGA32), is the presence of an internal 3V3 regulator on these modules and the compatibility of the pin order of all GebraBit modules together (GEBRABUS standard), it’s enough to Put the HS1101LF in the corresponding socket as shown in the above picture and develop the desired sensor module without the need for wiring.   

Introduction of module sections

HS1101LF sensor

HS1101LF sensor is the Relative Humidity sensor of this module which its circuit is designed.

VCC SEL

According to the state of 0R resistance of this jumper, the main voltage of the sensor power supply is selected between “5V” and “3V3”.

TLC555 timer

The TLC555 is a precision timing device used for general-purpose timing applications up to 2.1MHz. All inputs are level sensitive not edge triggered inputs.

This  timer device uses resistor and capacitor charging delay to provide a programmable time delay or operating frequency. In this module the HS1101LF sensor, used as variable capacitor, is connected to the TRIG and THRES pins of TLC555 timer.

Power supply LED

According to the state of the VCC SEL jumper and applying voltage to the module by the corresponding pin, the LED of the module will be lit.

GebraBit HS1101LF Module pins

Supply pins

  • 3V3 and 5V: These pins can supply the sensor main power supply according to the state of the VCCSEL selector jumper.
  • GND: This is the ground pin for supplying the sensor.

OUT pin

  • OUT: The final output of the sensor is provided to users through this pin. As the humidity level changes, the output of this pin will also change.

Connect to the processor

Connection with GebraBit STM32F303

Due to the compatibility of the GebraBit STM32F303 microcontroller pins with the GebraBit HS1101LF module pins (according to the GEBRABUS standard), to connect the GebraBit HS1101LF module to the GebraBit STM32F303 module, you can easily place it as Pin to Pin on the GebraBit STM32F303 module and start the module.

Here, for better understanding, the separate connection of these two modules is shown.

Connection with GebraBit ATMEGA32A

Due to the compatibility of the GebraBit ATMEGA32A microcontroller pins with the GebraBit HS1101LF module pins (according to the GEBRABUS standard), to connect the GebraBit HS1101LF module to the GebraBit ATMEGA32A  module, you can easily place it as Pin to Pin on the GebraBit ATMEGA32A module.

Here, for better understanding, the separate connection of these two modules is shown.

Note: If you are using GebraBit microcontroller modules, note that the power selector jumper of the GebraBit HS1101LF is set to 3V3 so that you can easily power-on the GebraBit HS1101LF  module by getting the 3V3 voltage from the microcontroller module.

Connection with ARDUINO UNO

follow the below steps to connect the GebraBit HS1101LF module to the ARDUINO UNO:

  • Since the VCC SEL jumper is set to 5V, connect the “5v” pin of the HS1101LF module to the “5V” output pin of the ARDUINO UNO board. (Red wire)
  • Connect the GND pin of the HS1101LF module to the GND pin of the ARDUINO UNO board. (black wire)
  • Connect the “OUT” pin of the HS1101LF module to one of the ARDUINO UNO board pins (for example, D3). (blue wire)

You can see how to connect the above mentioned steps in this picture:

این مقاله را با دوستانتان به اشتراک بگذارید!

Leave a Reply

Your email address will not be published. Required fields are marked *

Shopping cart
Start typing to see posts you are looking for.

Sign in

No account yet?