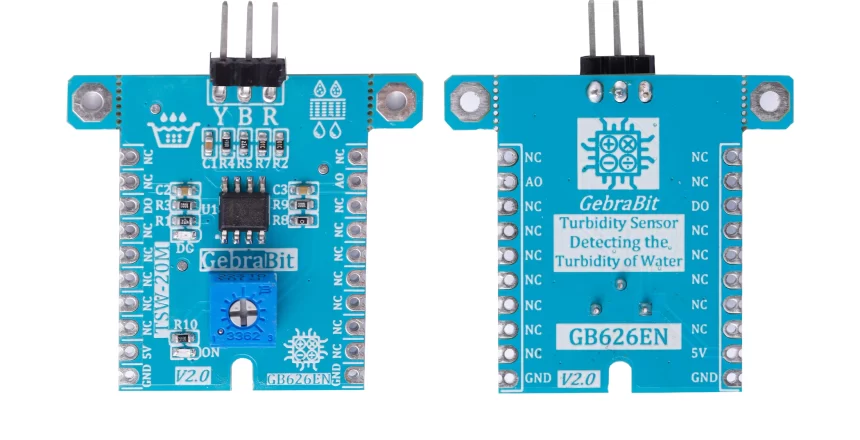
The water turbidity detection sensor determines the turbidity of the water using the optical principle. The working method of these types of sensors is usually that their waterproof part is placed inside the water and they send light to a water sample and determine the turbidity of the water by measuring the amount of reflected light. The higher the amount of polluting particles in the water, the lower the amount of reflected light.
GebraBit TSW-20M module

GEBRABIT TSW-20M module is a liquid solution turbidity detector.
The TSW-20 module is an optical sensor for washing machines that measure the product of turbid water density or an extraneous matter concentration using the refraction of wavelength between photo transistor and diode. Using an optical Transistor and optical diodes, an optical washing machine sensor measures the amount of light coming from the source of the light to the light receiver to calculate water turbidity.
The sensor operates on the principle that when light is passed through a sample of water, the amount of light transmitted through the sample is dependent on the amount of soil in the water. As the soil level increases, the amount of transmitted light decreases. The turbidity sensor measures the amount of transmitted light to determine the turbidity of the wash water. These turbidity measurements are supplied to the washer controller, which makes decisions on how long to wash in all the cycles. These decisions are made based on a comparison between clean water measurements (taken at the beginning of the wash cycle) and the wash water turbidity measurement taken at the end of each wash cycle. By measuring the turbidity of the wash water, the washing machine can conserve energy on lightly soiled loads by only washing as long as necessary.

To access the output data, it is enough to put the GebraBit TSW-20M module in the BreadBoard, then by applying the proper voltage set up the GebraBit TSW-20M module with any of Arduino, Raspberry Pi, Discovery board, and especially we recommend using GebraBit microcontroller development modules (GebraBit STM32F303 or GebraBit ATMEGA32 module) then receive the data.

The reason for our recommendation when setting up the GebraBit TSW-20M module with GebraBit microcontroller development modules (such as GebraBit STM32F303 or GebraBit ATMEGA32), is the compatibility of the pin order of all GebraBit modules together (GEBRABUS standard), it’s enough to Put the GebraBit TSW-20M module in the corresponding socket as shown in the above picture and develop this module without the need for wiring.
GebraBit TSW-20M module Key Features
- On Board, ON/OFF LED indicator
- Board LED indicator for OUTPUT Signal
- GEBRABIT Pin Compatible with GEBRABUS
- GEBRABIT small package
- It can be used as a daughter board of GEBRABIT MCU Modules
- Featuring Castellated pad (Assembled as SMD Part)
- Separatable screw parts to reduce the size of the board
Introduction of module sections

Data transfer header pin
Water turbidity detection modules consist of two parts, the first part is the waterproof part that is placed in the water, and the other part is the circuit part that checks the data.
As mentioned, this module works based on the optical principle and by sending light and measuring the return light, for this purpose, the waterproof part is placed in water and then to receive and analyze the data, the wires of this part are connected to the other part.
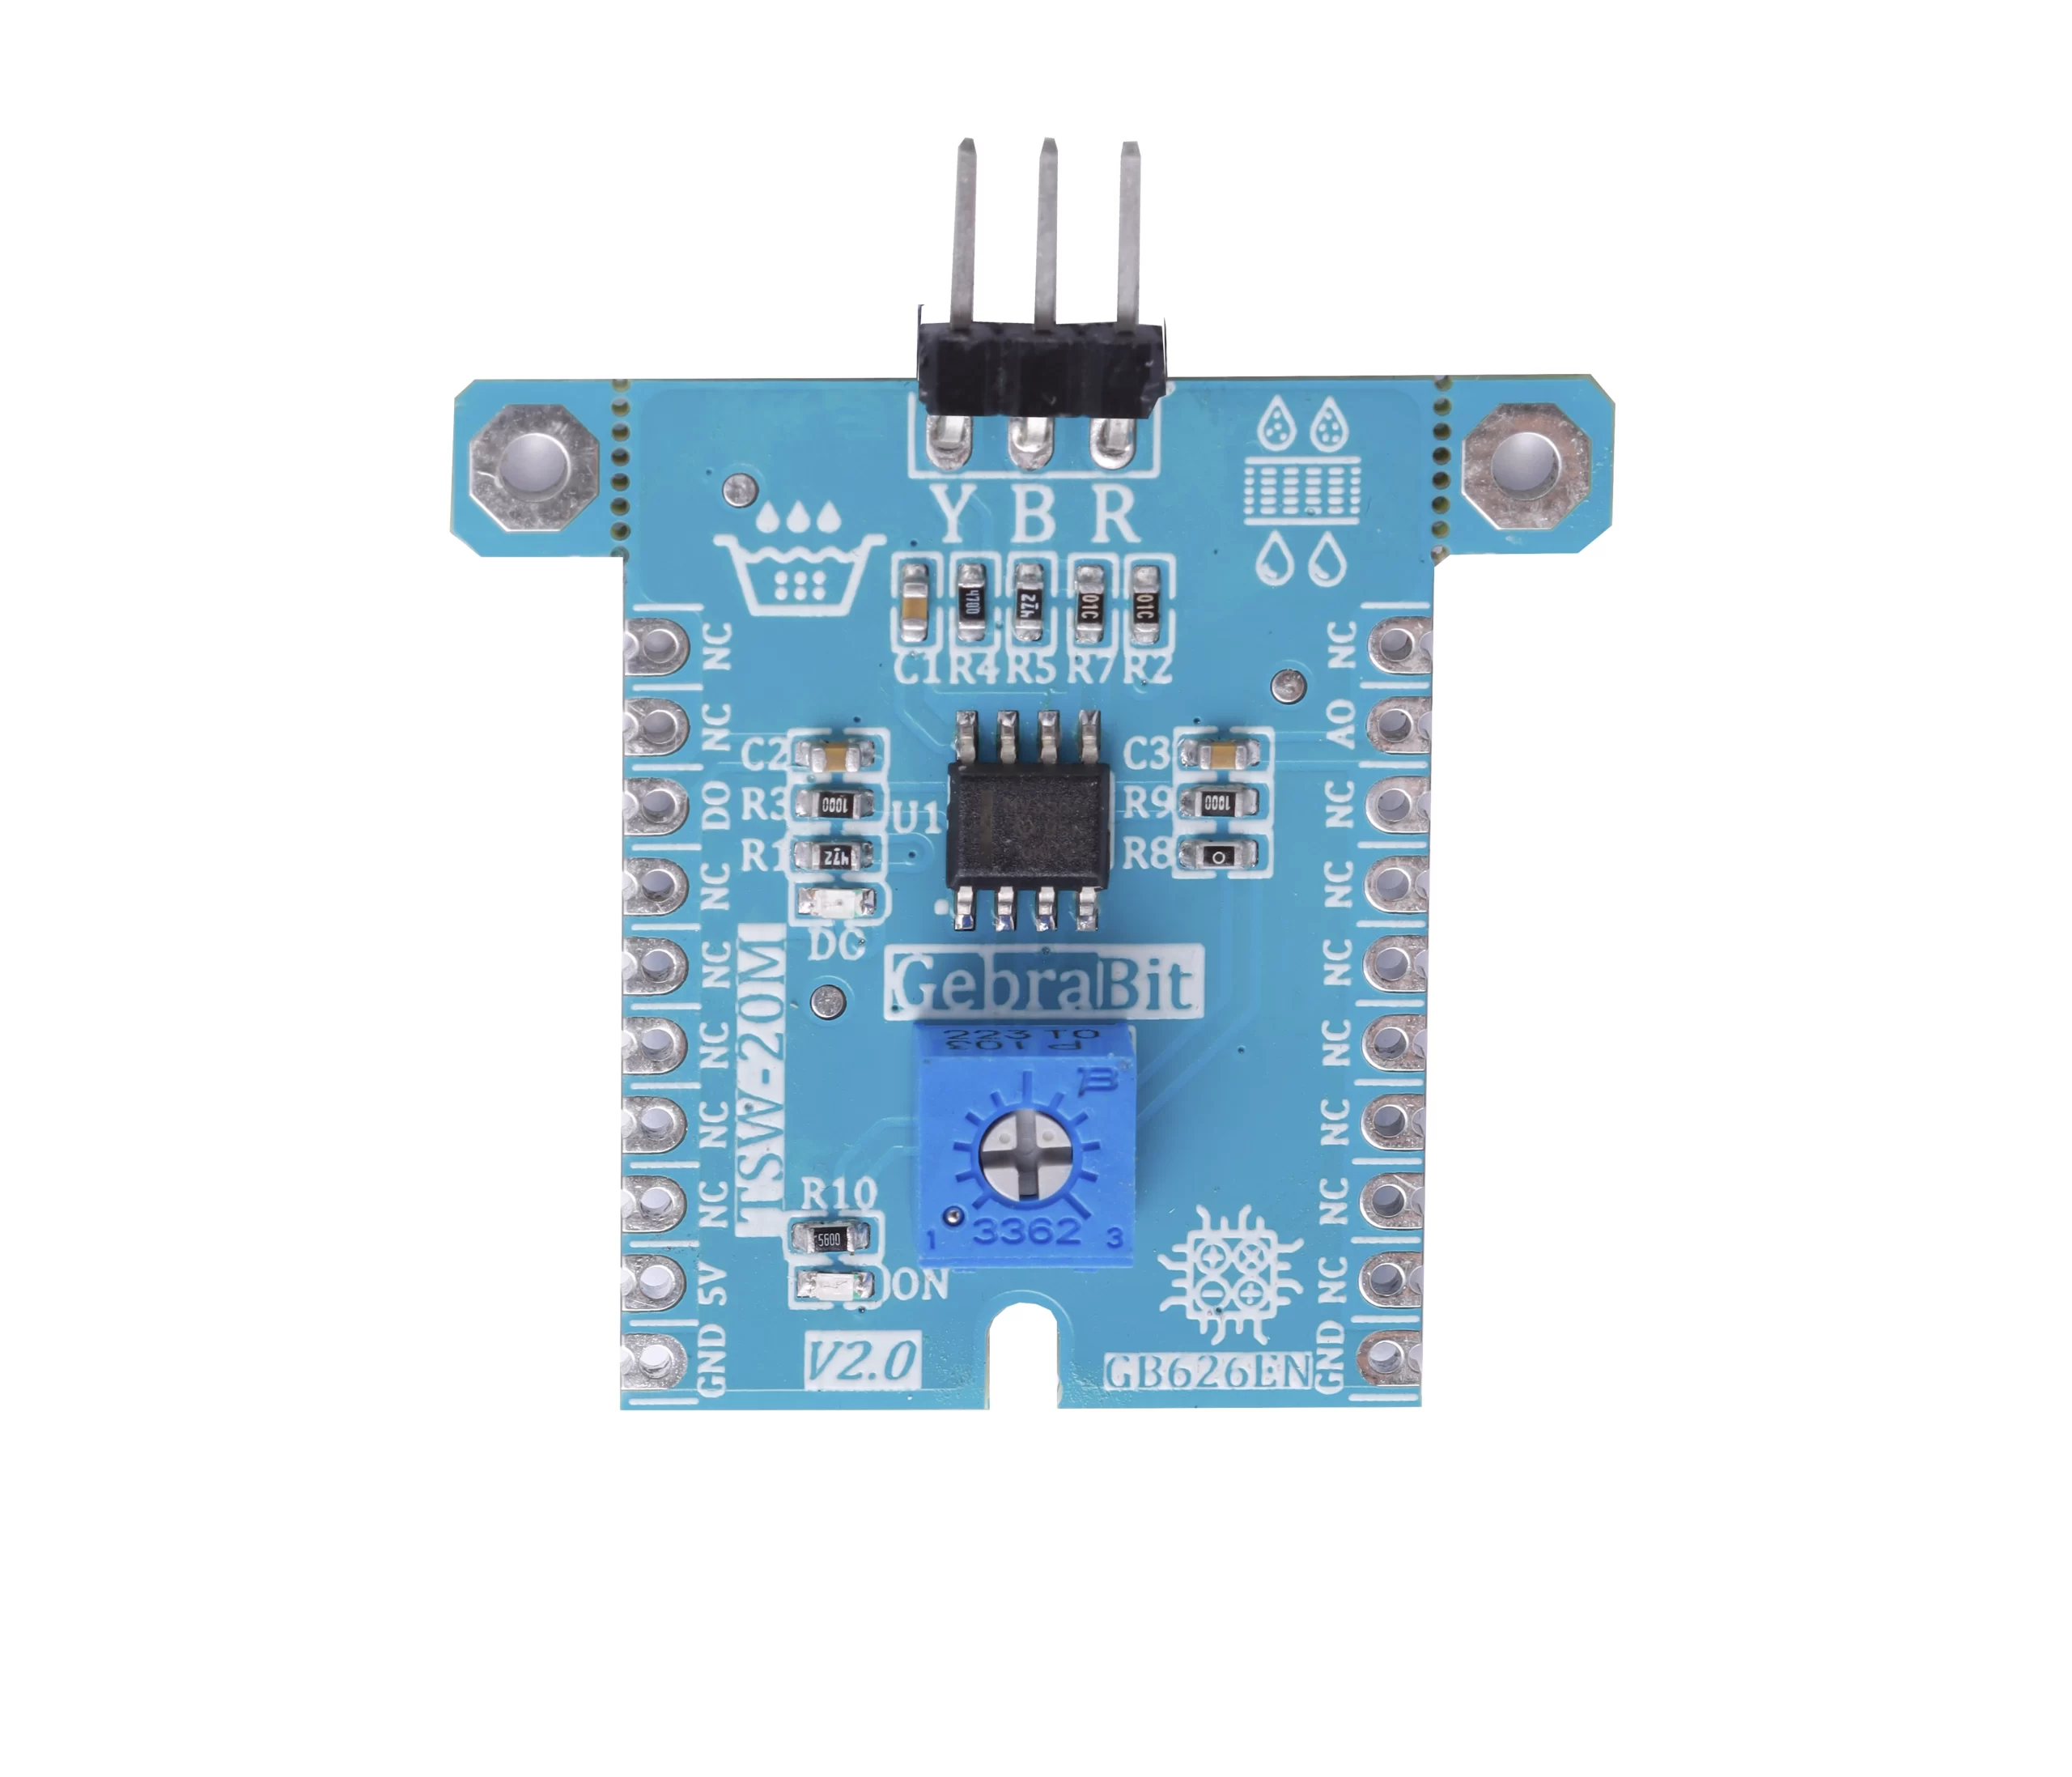
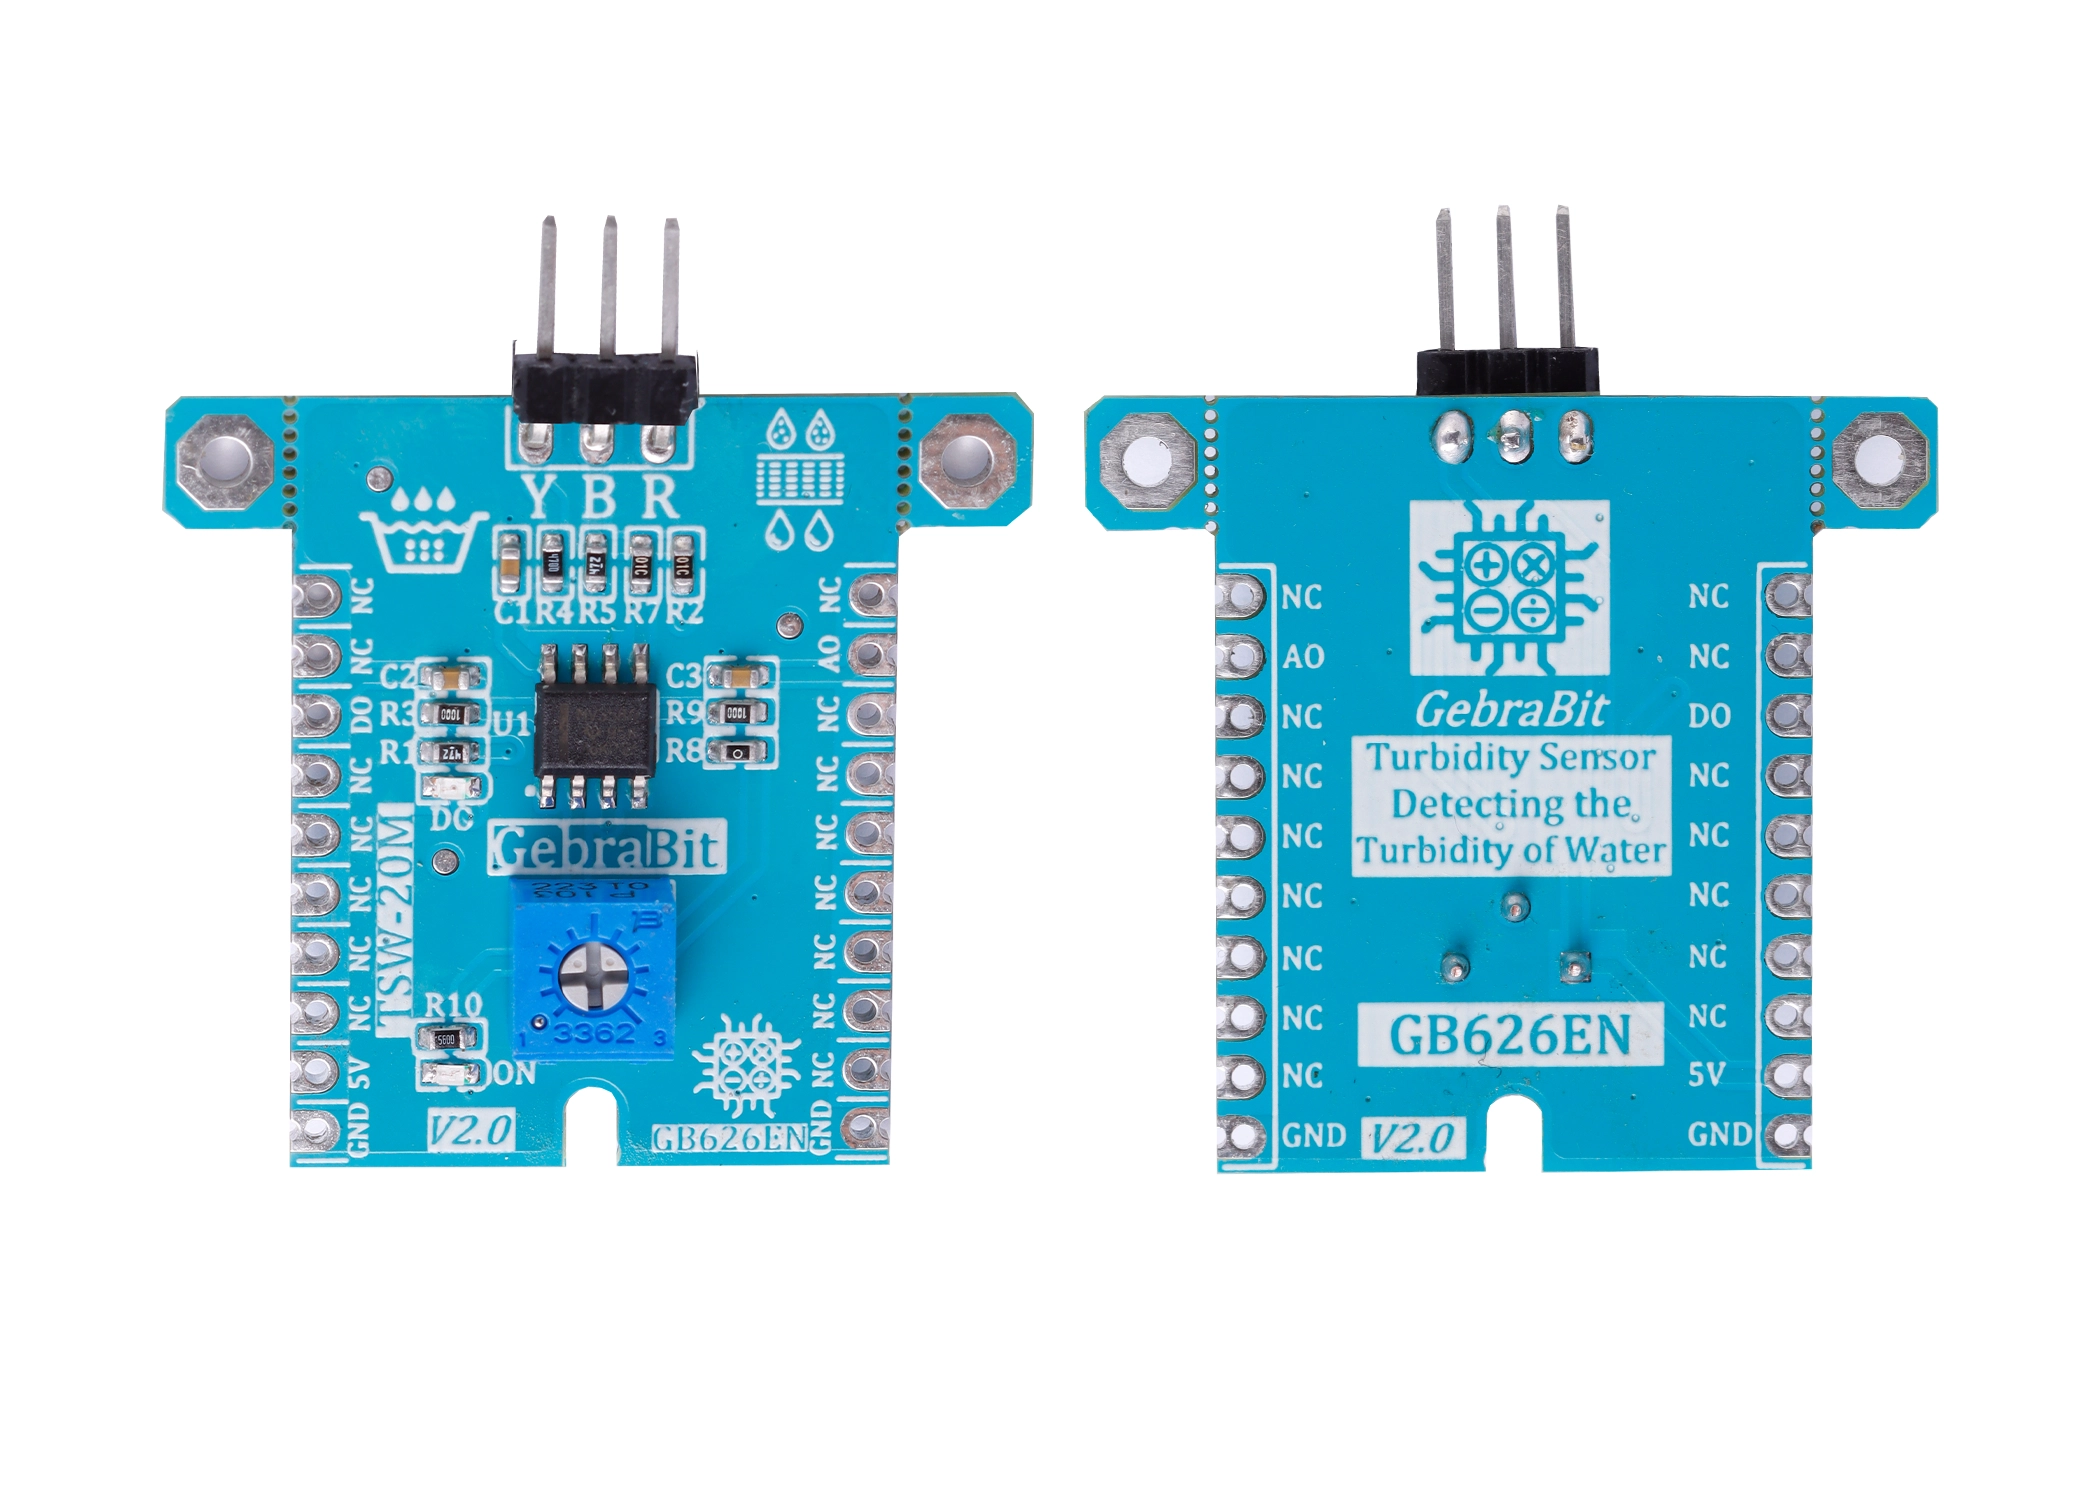
At the top of the GebraBit TSW-20M module, a pin header is placed to establish a connection between these two parts, and at the bottom of this pin header, the way to connect the wires is wrote on the module with the letters Y, B and R, which means that the Yellow wire goes to the Y pin, the Blue wire must be connected to the B pin and finally the Red wire must be connected to the R pin.

LMV358 op amp
In this module, a LMV358 operational op-amp is used to convert the sensor current signal to the output voltage of the module. The lower the output voltage, the higher the turbidity.

Sensitivity potentiometer
In the GebraBit TSW-20M module, a potentiometer is used to determine the sensitivity.

DO LED
The DO LED status changes by the change of water turbidity.

Power LED
By applying voltage to the module through the power pin, this LED turns on.

GebraBit TSW-20M Module pins

Supply pins
- 5V: This pin supplies the power supply of the module.
- GND: This is the ground pin for powering the module.

Output pins
- AO: This pin is used to receive the module analog output and outputs the water turbidity as an analog voltage.
- DO: This pin is used to receive the module digital output. By changing the amount of water turbidity, the logic output (0 and 1) also changes.

Connection with microcontroller

Connection with GebraBit STM32F303
Due to the compatibility of the pin order of GebraBit modules with each other (GEBRABUS standard), to start the GebraBit TSW-20M module with GebraBit STM32F303 microcontroller module, it is enough to easily place the GebraBit GebraBit TSW-20M module as pin to pin on the GebraBit STM32F303 module and start the module by applying voltage. Here, for better understanding, the separate connection of these two modules is shown:

Connection with GebraBit ATMEGA32A
Due to the compatibility of the pin order of GebraBit modules with each other (GEBRABUS standard), to start the GebraBit TSW-20M module with the GebraBit ATMEGA32A microcontroller module, it is enough to easily place the GebraBit TSW-20M module as pin to pin on the GebraBit ATMEGA32A module and start the module by applying voltage. Here, for better understanding, the separate connection of these two modules is shown:

Connection with ARDUINO UNO
Follow the steps below to connect the GebraBit TSW-20M module to ARDUINO UNO:
- Connect the “5V” pin of the TSW-20M module to the “5V” pin of the ARDUINO UNO board output (red wire).
- Connect the “GND” pin of the TSW-20M module to the “GND” pin of the ARDUINO UNO board. (Black wire)
- Connect the “DO” pin of the TSW-20M module to one of the ARDUINO UNO board digital pins (Blue wire).
- Connect the “AO” pin of the TSW-20M module to one of the ARDUINO UNO board analog pins (orange wire).
How to connect the above mentioned steps can be seen in this picture:


