A carbon monoxide detector or CO detector is a device that detects the presence of the carbon monoxide (CO) gas to prevent carbon monoxide poisoning. CO detectors are designed to measure CO levels over time and sound an alarm before dangerous levels of CO accumulate in an environment, giving people adequate warning to safely ventilate the area or evacuate.
An overview of the GM-702B sensor

MEMS carbon monoxide gas sensor is using MEMS micro-fabrication hot plate on a Si substrate base, gas-sensitive materials used in the clean air with low conductivity metal oxide semiconductor material. When the sensor exposed to gas atmosphere, the conductivity is changing as the detected gas concentration in the air. The higher the concentration of the gas, the higher the conductivity. Use simple circuit can convert the change of conductivity of the gas concentration corresponding to the output signal. This sensor features Low power consumption and fast response. It is suitable for the detection of carbon monoxide leakage for residential use or industrial use.
Specification
Application
- Output type: Analog-Voltage
- Detection Range: 5 to 5000 ppm
- Temperature range: -10°C to 60°C
For more specifications, please refer to datasheet
suitable for the detection of carbon monoxide leakage for residential use or industrial use.
GM-702B module Key Features
- User-selectable module power supply voltage between 1V8 and 3V
- On Board, ON/OFF LED indicator
- GebraBit Pin Compatible with GEBRABUS
- It can be used as a daughter board of GebraBit MCU Modules
- Featuring Castellated pad (Assembled as SMD Part)
- Separatable screw parts to reduce the size of the board
- Package: GebraBit small (36.29mm x 32.72mm)
GebraBit GM-702B module

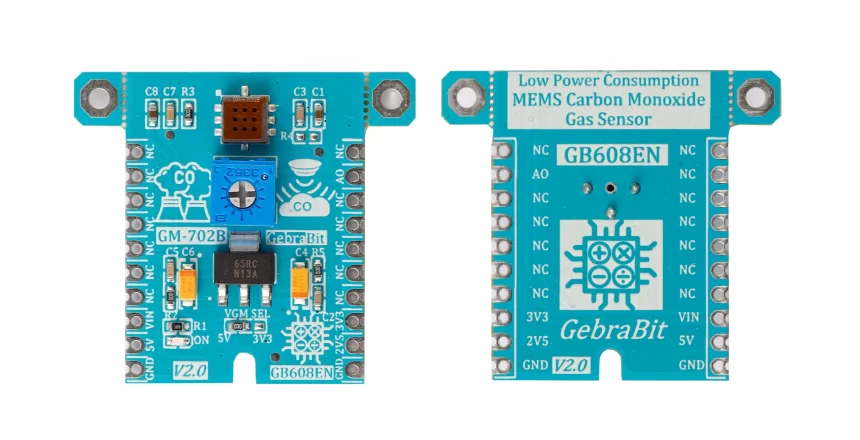
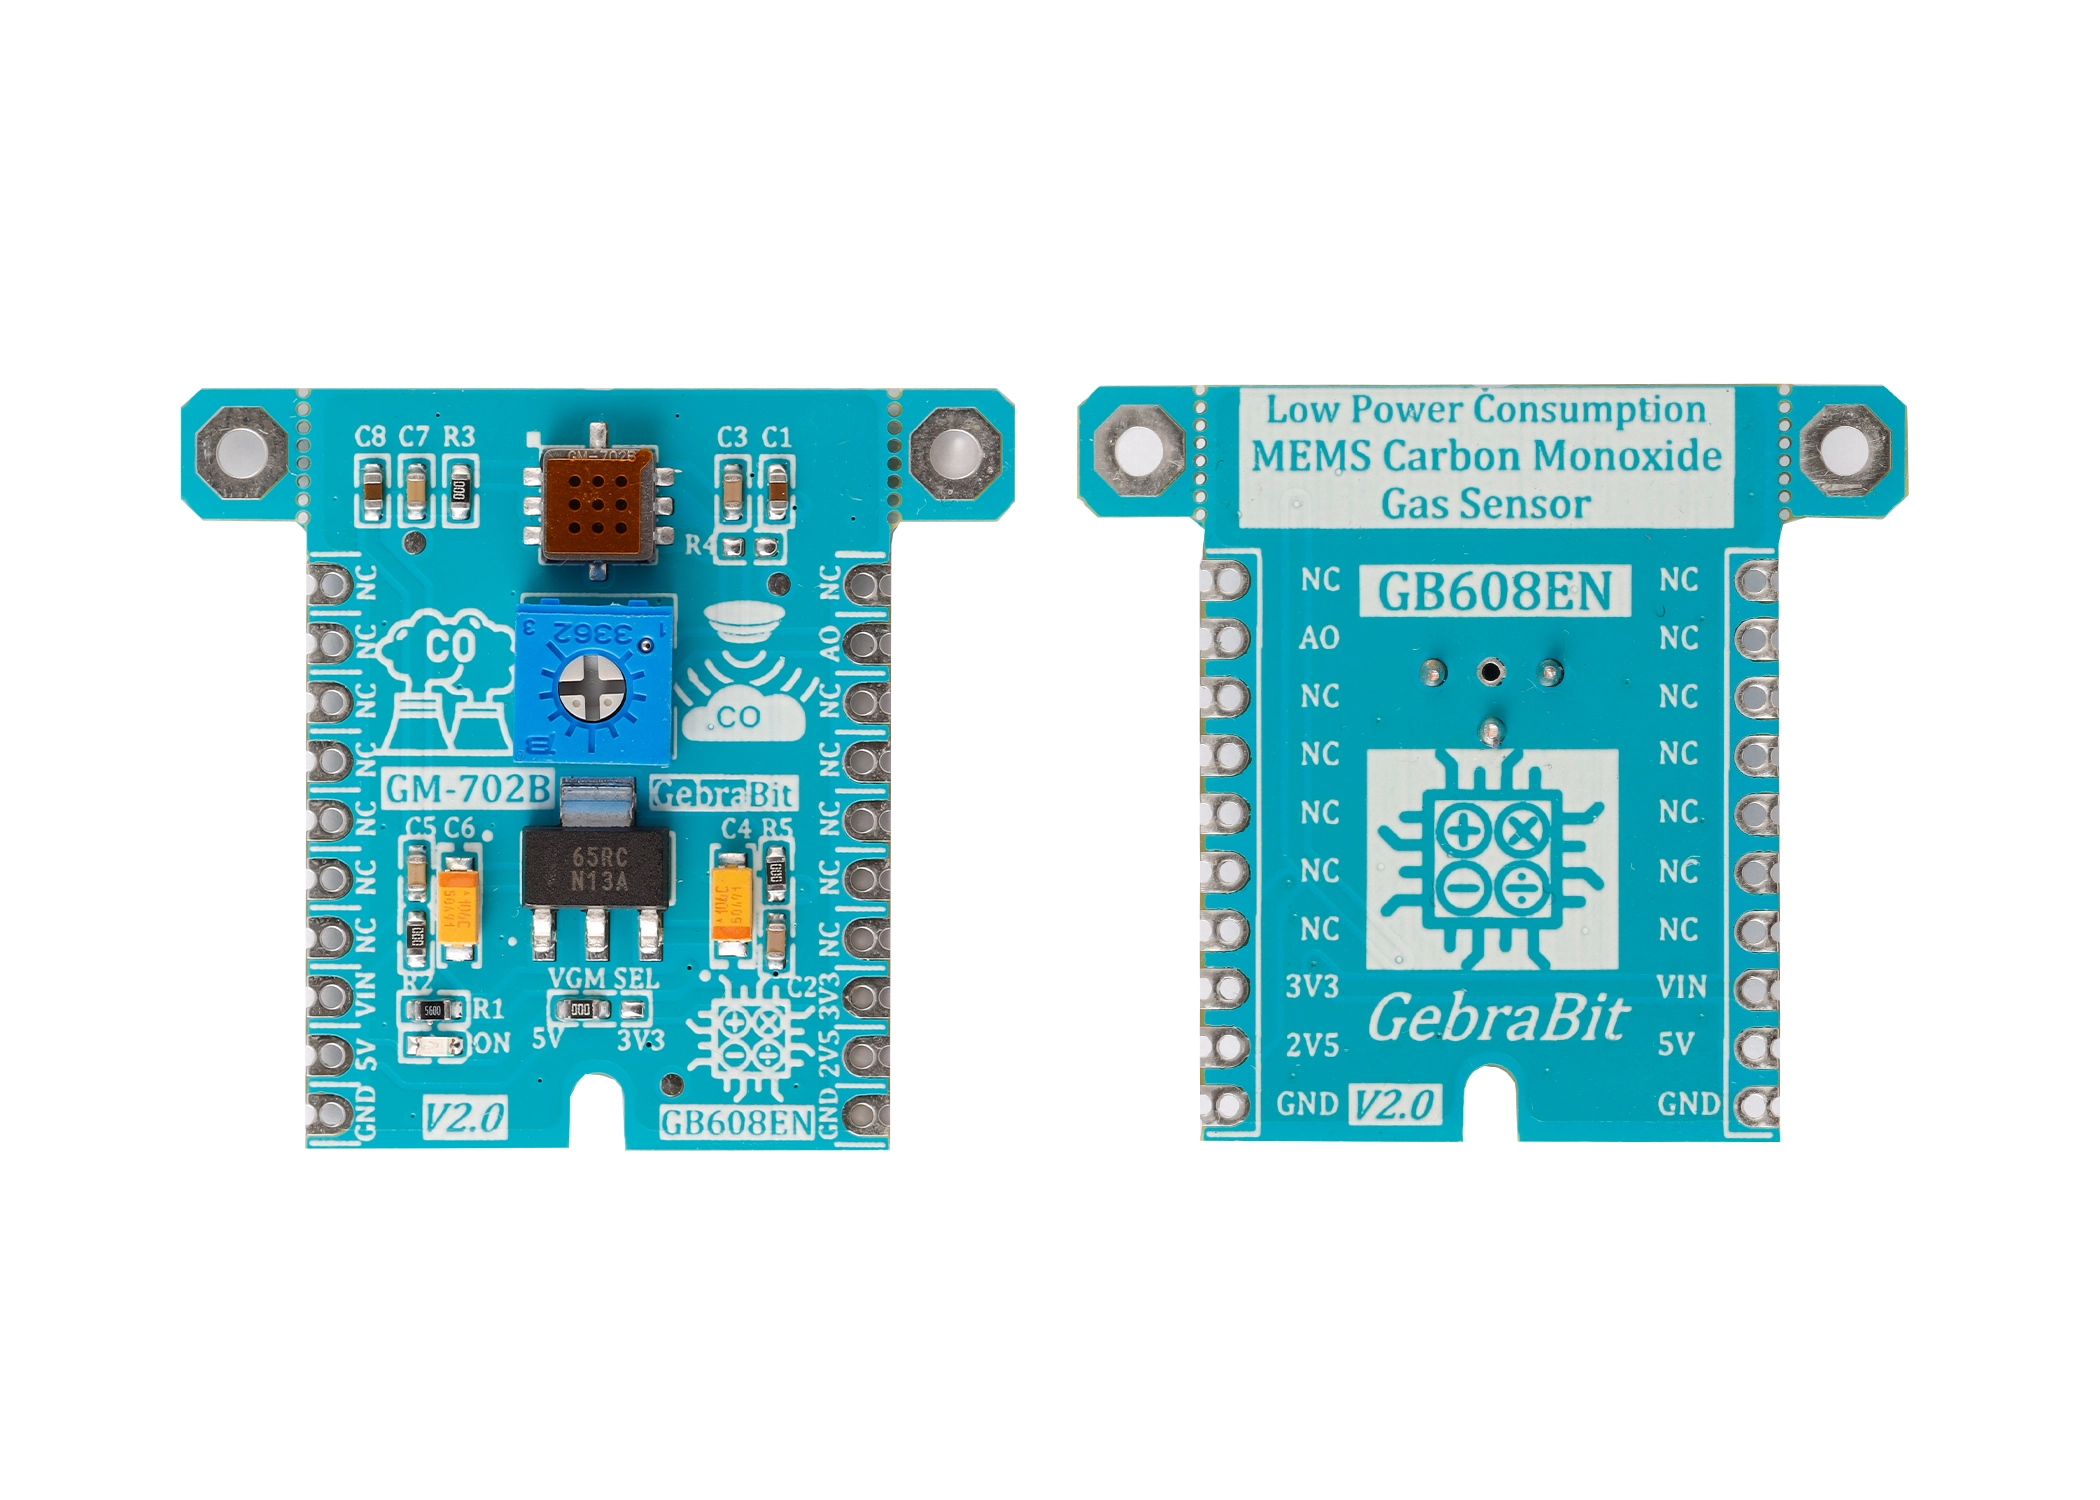
GebraBit GM-702B is a MEMS Carbon Monoxide Gas Sensor Module. This module needs up to 9V input Supply Voltage to turn the GM-702B heater ON due to an integrated 2V5 regulator. Regulator output is accessible on the “2V5” pin if R5 is assembled. Also, there is a jumper selector on the GebraBit GM-702B module named “VGM SEL” which determines GM-702B Supply Voltage between “5V” or “3V3” .
Users need a starter circuit and driver for hardware development and of course software development of the GM-702B sensor. GebraBit has done this by implementing the GM-702B sensor circuit and provided access to its output for users.

It is enough to put the GebraBit GM-702B module in the BreadBoard, then by applying the proper voltage set up the GebraBit GM-702B module with any of Arduino, Raspberry Pi, Discovery board, and especially we recommend using GebraBit microcontroller development modules (GebraBit STM32F303 or GebraBit ATMEGA32 module) then receive the data.

The reason for our recommendation when setting up the GebraBit GM-702B module with GebraBit microcontroller development modules (such as GebraBit STM32F303 or GebraBit ATMEGA32), is the presence of the 3V3 regulator and the compatibility of the pin order of all GebraBit modules together (GEBRABUS standard), it’s enough to Put the GM-702B in the corresponding socket as shown in the above picture and develop the desired sensor module without the need for wiring.
Introduction of module sections

GM-702B sensor
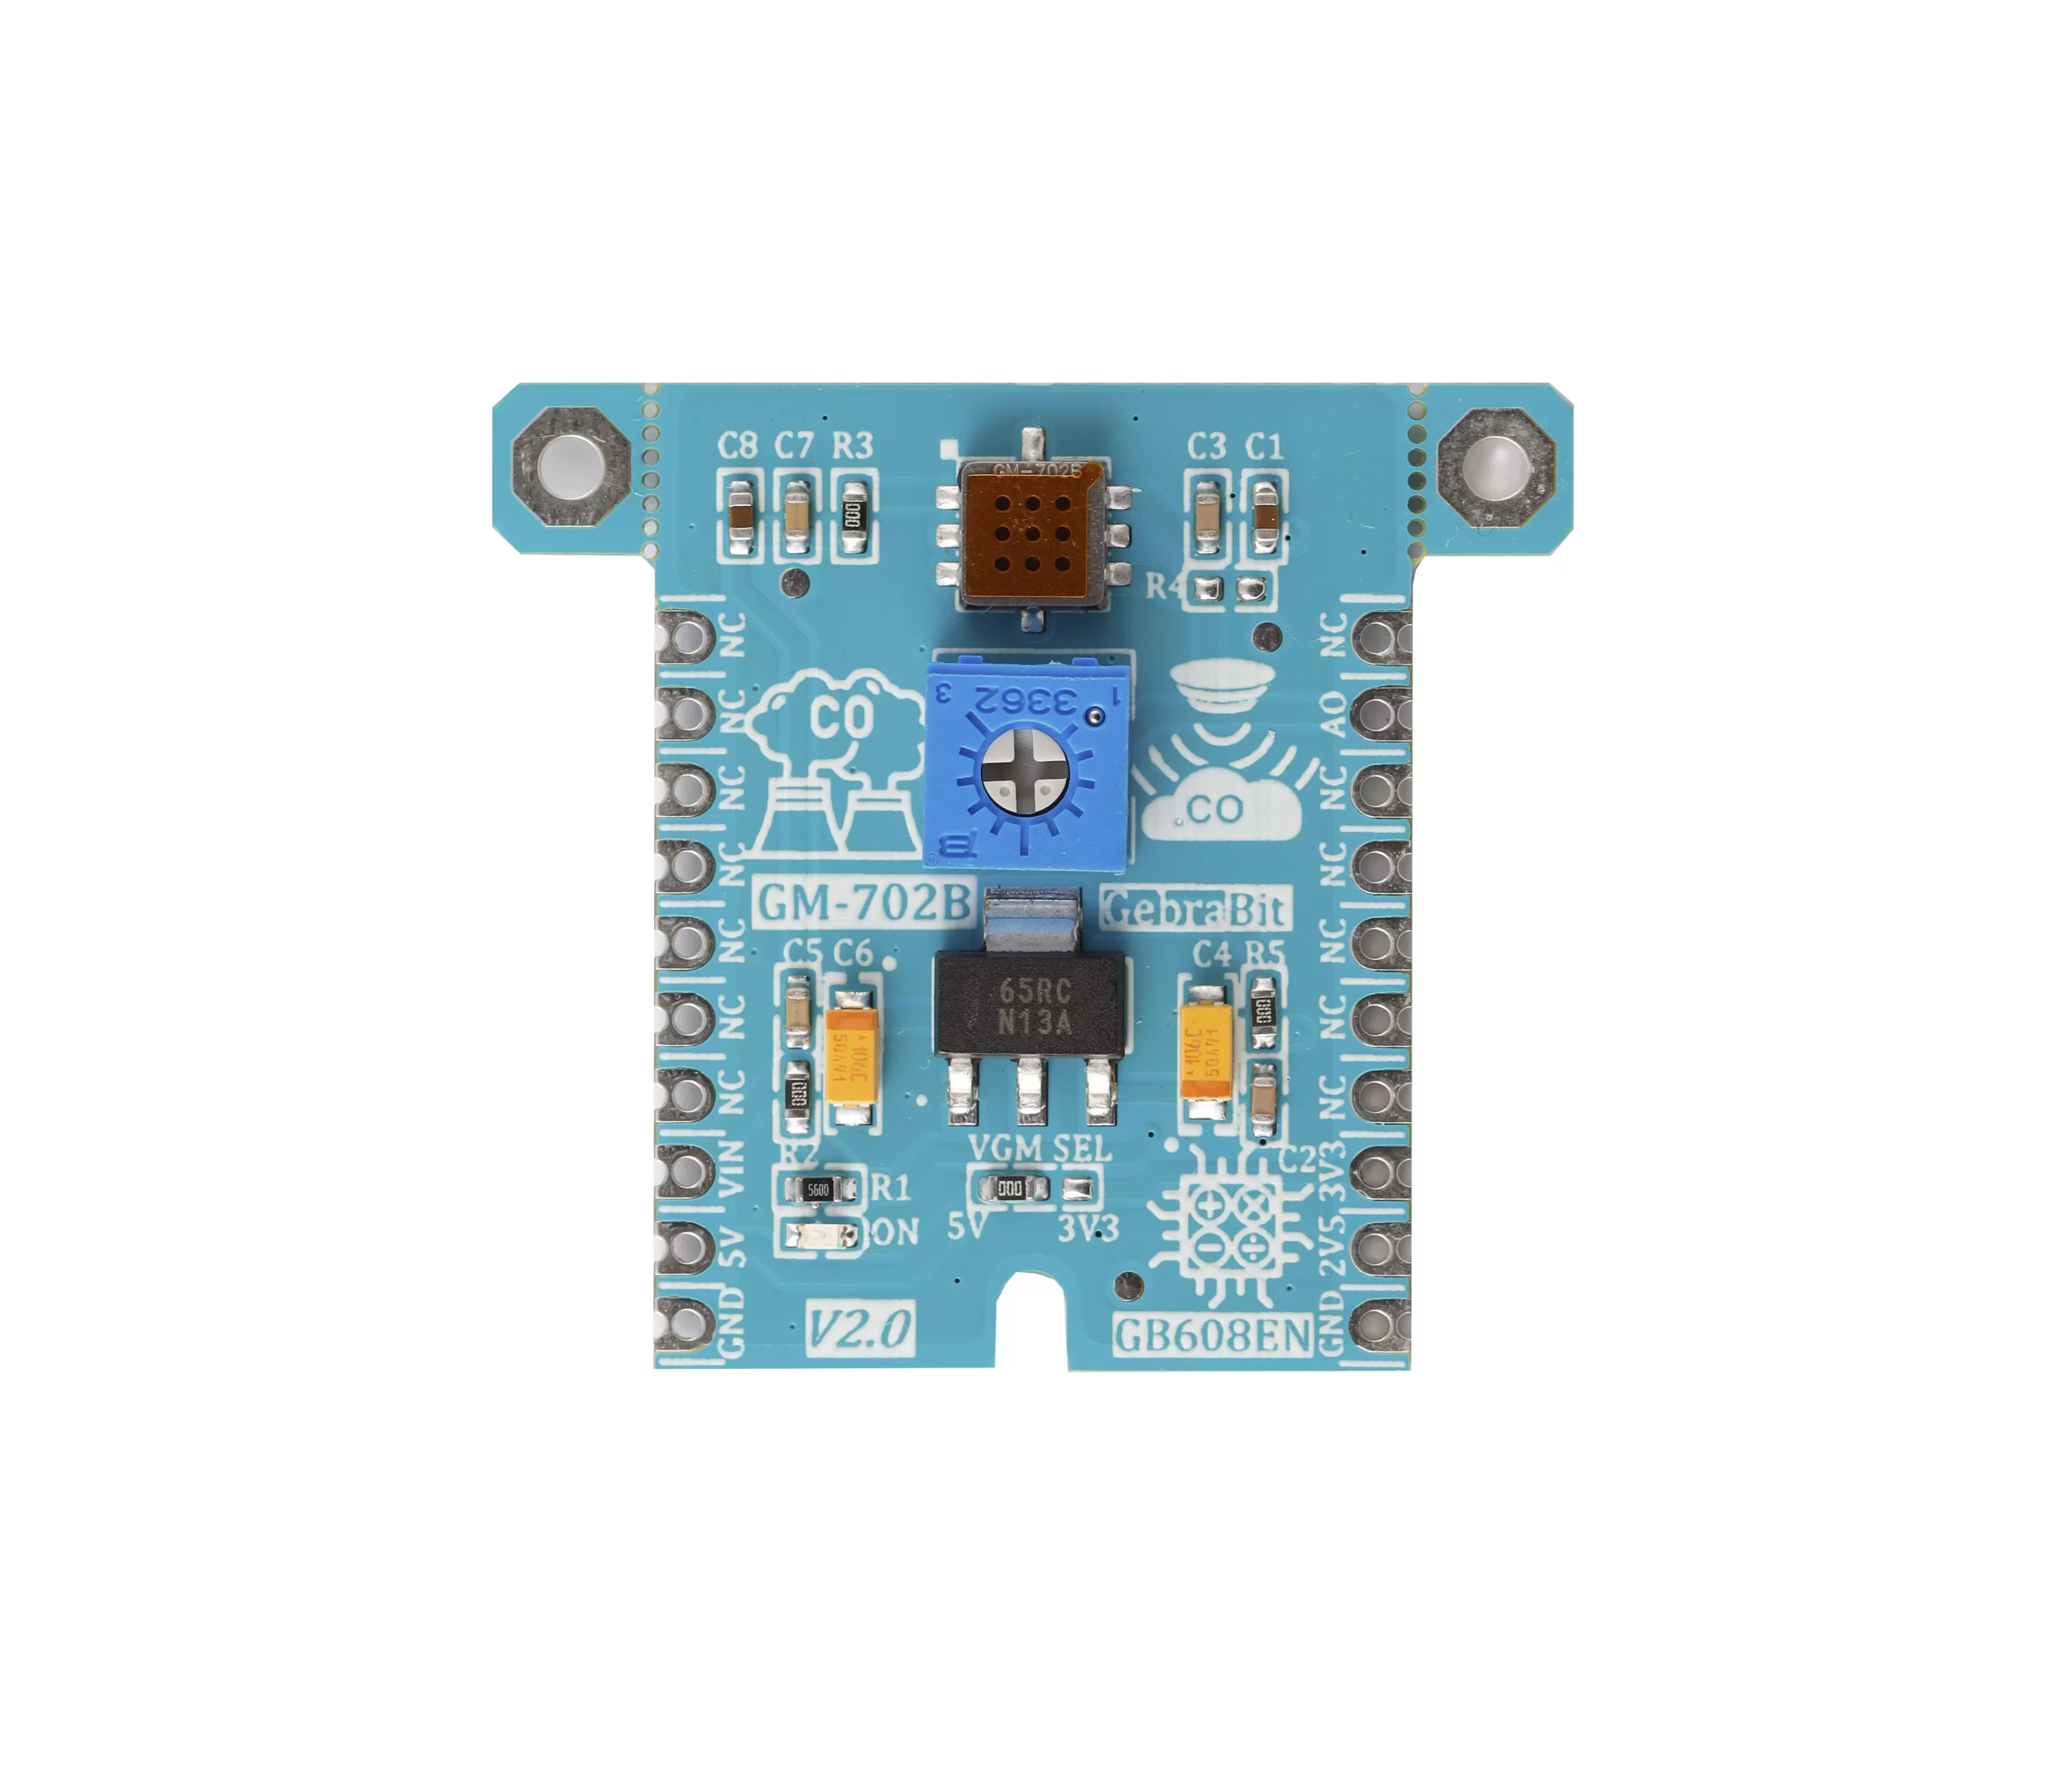
The GM-702B sensor is the main IC of this module, which is responsible for detecting carbon monoxide gas and is placed on top of the module and its circuit is designed.

VGM SEL
The GM-702B sensor requires two voltages, one is the heater voltage and the other is the circuit voltage. According to the state of 0R resistance of this jumper, the voltage of the sensor circuit is selected between “5V” and “3V3”. If resistor R2 is assembled on the board, VIN will always be equal to VGM (VIN=VGM).

2V5 regulator
A 2V5 regulator is installed on the GebraBit GM-702B module to provide 2.5V voltage for the sensor heater, which receives the input voltage from the VIN pin and converts it to 2.5V. If resistor R5 is assembled, the 2.5V output of this regulator will be available through the “2V5” pin.

Sensitivity potentiometer
In designing the GM-702B sensor circuit, a potentiometer is used to determine the module sensitivity.

Power LED
According to the state of the VGM SEL jumper and applying voltage to the module by the corresponding pin, the LED of the module is lit.

GebraBit GM-702B Module pins

Supply pins
- 3V3 and 5V: These pins can supply the power supply of the sensor circuit according to the state of the VGM SEL jumper.
- VIN: This pin can supply the sensor heater. To supply the heater through the VIN pin, users should note that due to the presence of the 2V5 regulator, the input voltage to this pin should not be more than 9 volts.
- 2V5: This pin, like the VIN pin, can supply the sensor heater. Also, if the “R5” resistor is assembled, the 2V5 output of the regulator will be available to the user through this pin.
- GND: This pin is the ground pin for powering the sensor.

Output pin
AO: This pin is the analog output pin of the module, the output of this pin changes when the gas concentration changes.

Connect to the processor

Connection with GebraBit STM32F303
Due to the compatibility of the pin order of GebraBit modules with each other (GEBRABUS standard), to start the GebraBit GM-702B module with GebraBit STM32F303 microcontroller module, it is enough to easily place the GebraBit GM-702B module as pin to pin on the GebraBit STM32F303 module and start the module by applying voltage. Here, for better understanding, the separate connection of these two modules is shown:

Connection with GebraBit ATMEGA32A
Due to the compatibility of the pin order of GebraBit modules with each other (GEBRABUS standard), to start the GebraBit GM-702B module with the GebraBit ATMEGA32A microcontroller module, it is enough to easily place the GebraB GM-702B module as pin to pin on the GebraBit ATMEGA32A module and start the module by applying voltage. Here, for better understanding, the separate connection of these two modules is shown:

Note: If you use GebraBit microcontroller modules, make sure that the VGM SEL selector jumper of GebraBit GM-702B module is set to “3V3” so that you can easily get “3V3” voltage from the microcontroller module.
Connection with ARDUINO UNO
Follow the steps below to connect the GebraBit GM-702B module to ARDUINO UNO:
- Connect the “5V” pin of the GM-702B module to the “5V” pin of the ARDUINO UNO board output (red wire).
- Connect the “GND” pin of the GM-702B module to the “GND” pin of the ARDUINO UNO board. (Black wire)
- Connect the “VIN” pin of the GM-702B module the ARDUINO UNO board digital “VIN” pin (Green wire).
- Connect the “AO” pin of the GM-702B module to one of the ARDUINO UNO board analog pins (orange wire).
How to connect the above mentioned steps can be seen in this picture:

Note: All connections shown above are made assuming R2 is not assembled.


